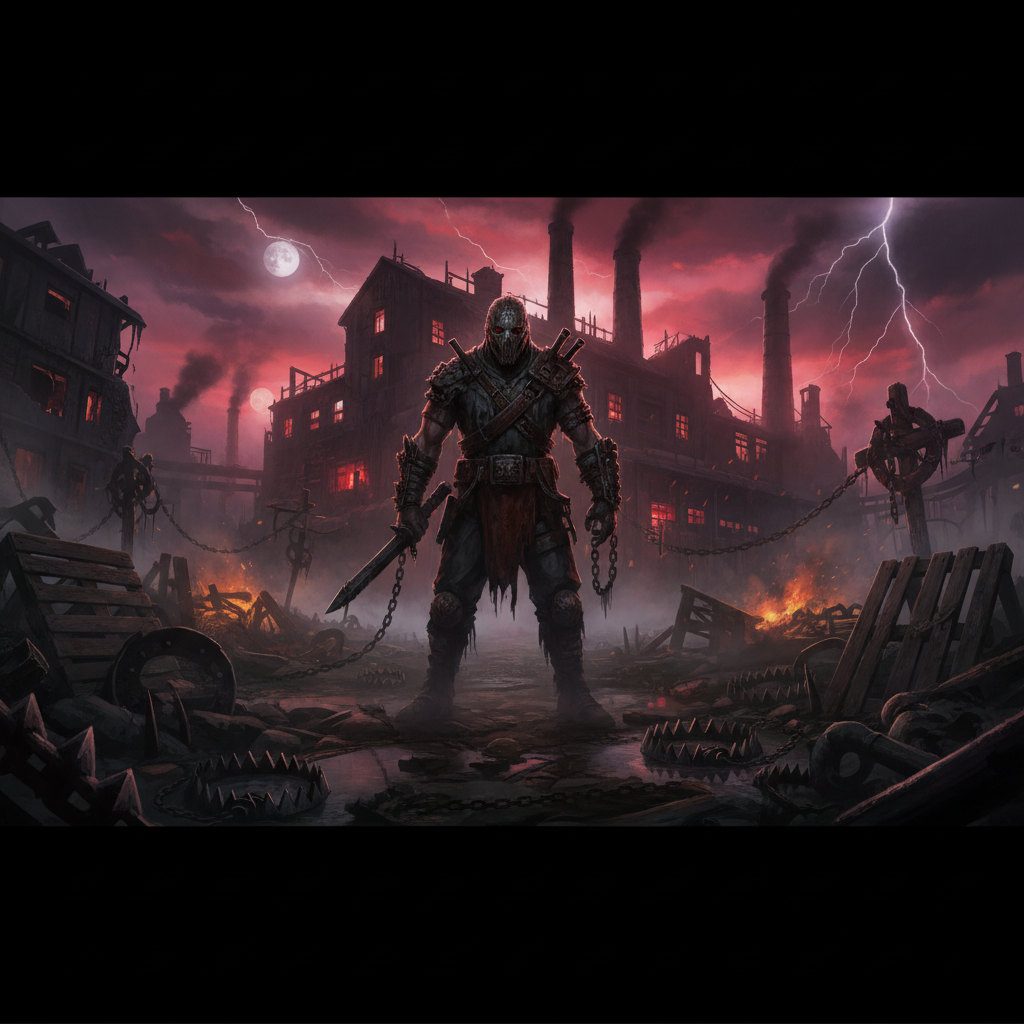
For the best Trapper builds in Dead by Daylight, consider focusing on gen slowdown, map control, and end-game power. A strong competitive build as of June 22, 2026, often includes Corrupt Intervention, Deadlock, Save the Best for Last, and No Way Out to manage generators and secure late-game advantages.
Trapper Build Overview
The Trapper, Evan MacMillan, is Dead by Daylight’s iconic killer, known for his ability to place bear traps to control the map. While his early game can be slow due to setup time, a well-placed network of traps can lead to significant map control and punish survivor mistakes in the mid-to-late game. Trapper players excel at predicting survivor movements and turning typically safe areas like pallets and windows into dangerous zones. His simplicity makes him easy to pick up, but mastering him at higher levels requires strategic foresight. Due to his inherent struggles against highly skilled survivors, many effective Trapper builds incorporate perks that either slow down the game significantly or provide explosive, game-swinging potential.
Competitive Trapper Builds
Competitive Trapper builds often prioritize generator slowdown and end-game security to compensate for his setup time. These builds aim to provide the Trapper with enough breathing room to deploy his traps effectively and then capitalize on the map control he establishes.
| Perk | Killer | Effect |
|---|---|---|
| Corrupt Intervention | The Plague | Blocks 3 farthest generators for 120 seconds at trial start. |
| Deadlock | The Cenobite | Blocks generator with highest progression for 30 seconds when another generator is completed. |
| Save the Best for Last | The Shape | Reduces basic attack cooldown by 4% per token (up to 8), losing 2 tokens on hitting the Obsession. |
| No Way Out | The Trickster | Blocks exit gates for 12 seconds plus 12 seconds per token (max 4) when powered. |
This combination allows the Trapper to establish early game map control by forcing survivors away from distant generators, giving him time to set traps. Corrupt Intervention is crucial for this initial setup phase. Deadlock provides consistent slowdown throughout the match, buying more time for trap resets and chases. Save the Best for Last is a strong choice as it helps in chases, especially when survivors group up, which can happen around trap-heavy areas. No Way Out ensures that even if generators are completed, the Trapper has a powerful end-game tool to secure kills, leveraging the fact that Trapper often reaches the endgame regardless.
Another competitive approach focuses on a “4 slowdowns” strategy. While this can extend the game, it might not always provide the “spice” needed for game-changing plays. However, a specific competitive build recommended by players includes:
- Corrupt Intervention: Locks down areas, gives time to collect traps or forces survivors to bunch up.
- Pop Goes the Weasel: Provides gen regression.
- Hex: No One Escapes Death (NOED): A strong end-game perk, especially for a killer who can struggle against experienced survivors.
- Hex: Haunted Grounds: Can expose survivors if they cleanse totems during Corrupt Intervention, adding an explosive element.
This build emphasizes early game setup and late-game power. Haunted Grounds, while not always activating, provides a high-risk, high-reward element that can surprise survivors.
Aggressive & Hex Trapper Builds
Beyond general competitive setups, Trapper can excel with aggressive strategies, particularly around the basement, or by leveraging Hex perks. These builds aim to create high-pressure situations for survivors.
Aggressive Scourge Trapper Build
| Perk | Killer | Effect |
|---|---|---|
| Scourge Hook: Pain Resonance | The Artist | Explodes the generator with most progress, losing 25% progress, when a survivor is hooked on a Scourge Hook (first time per survivor). |
| Dead Man’s Switch | The Deathslinger | Blocks and regresses generators when a hooked survivor is rescued, if a survivor stops repairing it. |
| Agitation | The Trapper | Increases movement speed by 18% while carrying survivors and expands Terror Radius by 12 meters. |
| Starstruck | The Trickster | Exposes survivors within Terror Radius while carrying a survivor; effect lasts 30 seconds after dropping/hooking. |
This build is designed for a “basement Trapper” strategy, interfering with generator progress and survivor movements. Pain Resonance and Dead Man’s Switch combine for significant generator regression and information. Agitation and Starstruck make carrying survivors to the basement or any hook extremely dangerous for other survivors, often leading to multiple downs or forcing them to scatter. The increased Terror Radius from Agitation synergizes with Starstruck to expose a wider area.
Trapper Hex Build
| Perk | Killer | Effect |
|---|---|---|
| Deadlock | The Cenobite | Blocks generator with highest progression for 30 seconds when another generator is completed. |
| Hex: Haunted Ground | The Spirit | Cleansing one of two trapped Hex Totems exposes all survivors for 60 seconds; the other totem becomes dull. |
| Hex: Devour Hope | The Hag | Gains tokens for distant hook rescues: 2 tokens for 5% Haste, 3 tokens for Exposed status, 5 tokens for Mori. |
| Hex: Pentimento | The Artist | Allows re-lighting destroyed totems as Hex: Pentimento, granting various debuffs based on active totems. |
Trapper is well-suited to hex perks because his traps can protect totems or funnel survivors into areas where totems are located. Deadlock provides consistent gen slowdown. Haunted Ground offers an immediate, high-impact expose effect if survivors attempt to cleanse totems. Devour Hope rewards strategic hooking and can quickly escalate into a powerful end-game condition. Pentimento offers a way to regain value from cleansed totems, providing increasing debuffs to survivors. This build encourages survivors to interact with totems, potentially leading them into traps or triggering Exposed status effects.
Essential Trapper Add-ons
Add-ons are crucial for enhancing the Trapper’s power and adapting his playstyle. They can significantly impact his trap setup, effectiveness, and overall map presence.
| Add-on | Effect |
|---|---|
| Trapper Sack | All Bear Traps start in inventory; cannot pick up, only reset. |
| Iridescent Stone | A randomly disarmed Bear Trap automatically resets and arms every 30 seconds. |
| Honing Stone | Survivors who free themselves from a Bear Trap enter the Dying State. |
| Bloody Coil | When a healthy survivor disarms a Bear Trap, they become injured. |
| Fastening Tools | Increases trap rescue/escape time by 25%; increases trap setting speed by 50%. |
The Trapper Sack is excellent for immediately beginning trap setup, eliminating the need to collect them from around the map. Iridescent Stone provides passive map control, ensuring traps remain active even if disarmed. Honing Stone is a powerful add-on that turns a disarm into an immediate down, creating immense pressure. Bloody Coil ensures that even disarming a trap has a negative consequence for healthy survivors. Fastening Tools improve the efficiency of trap setting and make it harder for survivors to escape, giving the Trapper more time to pursue or reset. Combining add-ons like Bloody Coil and Iridescent Stone, or Iri Stone with Honing Stone, can create highly effective and frustrating trap zones for survivors.
FAQ
What is the best competitive Trapper build? A strong competitive build for Trapper includes Corrupt Intervention, Deadlock, Save the Best for Last, and No Way Out. This combination provides early game setup time, consistent generator slowdown, improved chase potential, and a powerful end-game closer.
How does Trapper manage early game setup? Perks like Corrupt Intervention are vital for early game setup. By blocking the three generators farthest from you, it forces survivors to closer generators, giving you time to collect and place traps in strategic locations without immediate generator pressure.
Are Hex perks good for Trapper? Yes, Trapper can be an excellent user of Hex perks. His traps can be placed to protect totems or to funnel survivors into areas where totems are, making it risky for them to cleanse. Hex: Haunted Ground, Hex: Devour Hope, and Hex: Pentimento are strong choices.
Which add-ons are recommended for Trapper? Key add-ons include Trapper Sack (all traps start in inventory), Iridescent Stone (auto-resets disarmed traps), Honing Stone (survivors enter Dying State when freeing themselves), Bloody Coil (injures healthy survivors who disarm traps), and Fastening Tools (faster trap setting, slower escape).
Why is Save the Best for Last good for Trapper? Save the Best for Last is beneficial because it reduces the cooldown of successful basic attacks. This is particularly useful for Trapper in chases, especially when survivors are grouped up or when you need to quickly down a survivor after they step in a trap.