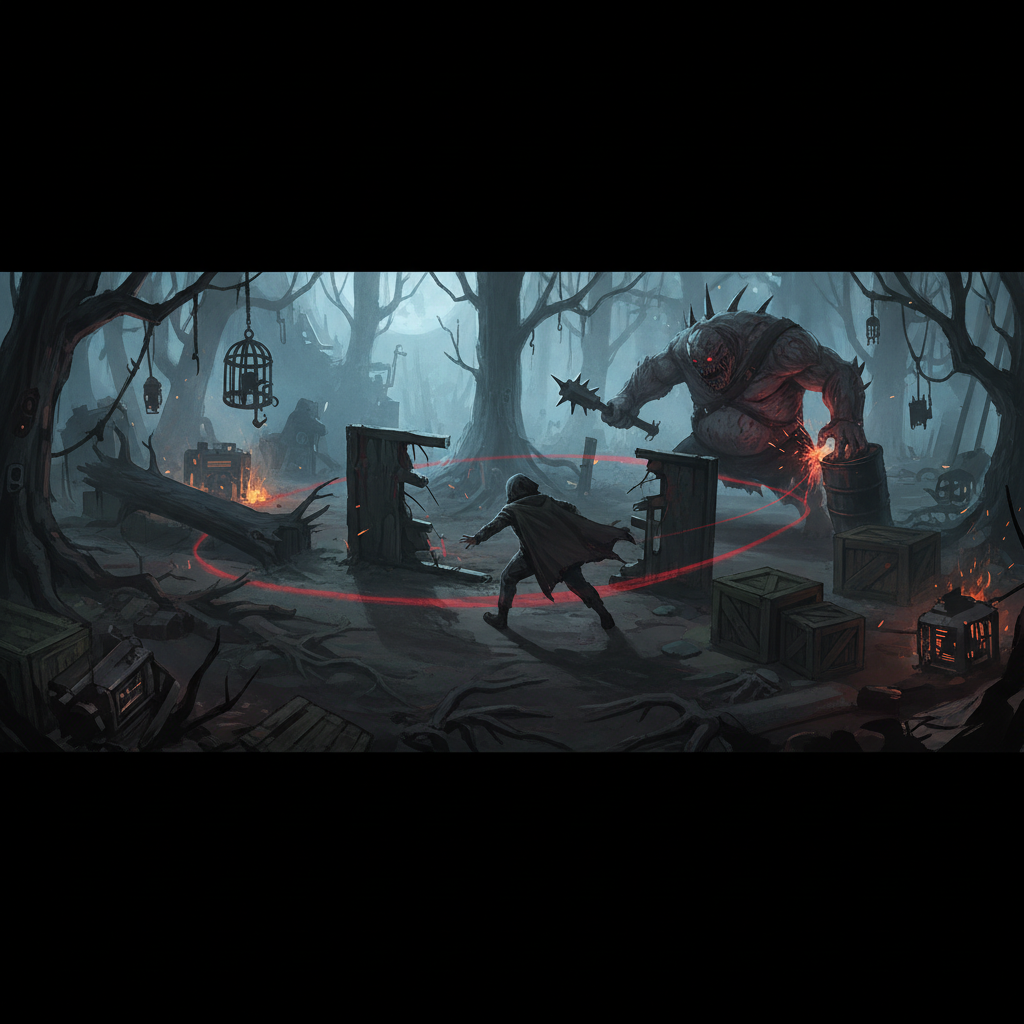
To effectively loop the killer in Dead by Daylight, focus on keeping obstacles between you and the killer, utilizing vaults efficiently, and staying as close as possible to structures to maximize chase time and minimize resource expenditure.
Mastering the Vault
Vaulting is a critical component of successful looping, offering different speeds and tactical advantages depending on the situation. Understanding when and how to use each vault type can significantly impact your chase duration.
| Vault Type | Speed (seconds) | Killer Interaction | Noise Alert | Notes |
|---|---|---|---|---|
| Fast Vault | 0.5 | Harder to catch | Yes | Best for quick escapes |
| Medium Vault | 0.9 | Easier to hit/grab | Yes | Body more exposed |
| Slow Vault | 1.5 | Killer can grab | No | Slower but quiet |
The Fast Vault is the quickest option at 0.5 seconds and is ideal when actively chased, making it difficult for the killer to land a hit. Both Fast and Medium Vaults are considered rushed actions, generating a noise notification for the killer unless suppressed by perks like Quick & Quiet. The Medium Vault, at 0.9 seconds, exposes your body more, increasing the risk of being hit or grabbed. The Slow Vault, taking 1.5 seconds, is quiet but leaves you vulnerable to being grabbed by the killer due to its duration. Be aware that if a survivor performs a rushed vault through the same window three times during a single chase, The Entity will block that window for them for 30 seconds, though other survivors and the killer remain unaffected.
Tight Looping and Structure Strategy
Effective looping relies heavily on how you navigate structures. Staying close to obstacles and understanding specific map layouts are key to prolonging chases.
When looping, it is crucial to “hug” the structure. This means holding the ‘W’ key and maintaining close proximity to the wall, with your camera positioned towards the wall. Failing to do so allows the killer to close the distance faster, reducing your chase time. Learning map layouts and identifying strong looping spots like Jungle Gyms, T-Walls, and the Killer Shack is essential. Conversely, recognizing “dead zones” – areas without pallets or vaults – can prevent premature downs.
Specific structures offer distinct looping strategies:
- Killer Shack: Often considered the safest spot on maps that feature it. The pallet within the shack is known as the “God Pallet” and should be conserved. Only use this pallet after looping at least twice or when you are on the verge of being downed. When looping the Killer Shack, observe the killer’s movement; if they enter the shack, vault the window. If they circle around, stay inside until they enter, then vault.
- T+L Walls (T-L Walls): These Maze Tiles consist of a T-shaped wall and an L-shaped wall, each with a window. Optimal paths around these structures involve utilizing both windows to create distance.
- Jungle Gyms: Another type of Maze Tile, Jungle Gyms feature both a window and a pallet. These offer strong looping potential by alternating between the window and the pallet.
- Pallets: Pallets offer similar vaulting speeds to windows. You can pre-drop pallets for a safer playstyle. Stunning a killer with a pallet will halt their movement for 2 seconds. The killer can grab you while you are vaulting a pallet. The perk ‘Any Means Necessary’ allows you to reset a dropped pallet, and the killer perk Hex: Blood Favour can block pallets.
Understanding Killer Mechanics
Being aware of how the killer operates can give you a significant advantage in a chase. This includes their ability to break pallets, vault windows, and the Bloodlust mechanic.
If the killer is breaking a pallet or vaulting a window, you can attempt to flashlight or flashbang them to disorient them, making it harder for them to find you, especially if you are not injured and they are not using headphones. Keep in mind that killers can grab you while you are vaulting a pallet.
One crucial killer mechanic to be aware of is Bloodlust. This activates when a chase extends without the killer landing a hit, stunning them, or breaking a pallet. Bloodlust provides the killer with a speed boost, escalating through three tiers:
| Bloodlust Tier | Activation Time | Movement Speed |
|---|---|---|
| Tier 1 | 15 seconds | 120% |
| Tier 2 | 25 seconds | 125% |
| Tier 3 | 35 seconds | 130% |
To counter Bloodlust, you must force the killer to break a pallet or stun them. This action resets their speed boost, providing a brief window for you to regain an advantage or create distance.
General Looping Principles
Beyond specific structures, several overarching principles contribute to effective looping, from camera management to strategic decision-making.
Your primary goal when looping is to make the killer spend as much time as possible chasing you while using as few resources as possible. To achieve this, always keep objects between yourself and the killer. While running, periodically adjust your camera to keep the killer in view. This allows you to predict their movements, such as attempts to cut you off or set up for an attack. The best times to look back are during the initial frames of a vaulting or pallet-dropping animation, as you won’t lose significant distance. When looping around low obstacles or pallets, position your camera to keep the killer centered on your screen. For mid-height obstacles, tilt your camera higher to maintain visibility.
Maintain composure and avoid vaulting immediately when the killer is close. Panicking and vaulting too soon can allow the killer to predict your move and land an easy hit. Wait until the killer is sufficiently close before committing to a vault.
Strategically, avoid looping near generators, especially those your teammates are actively working on. Doing so can disrupt their progress or even lead to them being targeted by the killer. Similarly, do not loop near hooks, particularly if a teammate is on one. Getting caught near a hook means an almost instant re-hook, and looping there makes it harder for your teammate to be rescued.
FAQ
What is looping in Dead by Daylight? Looping is a technique where a survivor runs around obstacles to prolong a chase and avoid getting caught by the killer, buying time for teammates to repair generators and increasing survival chances.
How does vaulting affect looping? Vaulting speed varies (0.5s for fast, 0.9s for medium, 1.5s for slow), with fast vaults being ideal for quick escapes. Rushed vaults (fast/medium) alert the killer with a noise notification.
What is the “God Pallet”? The “God Pallet” refers to the pallet found in the Killer Shack, known for being one of the safest pallets to use. It should be conserved and used only after looping the shack multiple times or when about to be downed.
How does Bloodlust work and how can I counter it? Bloodlust activates when a chase is prolonged without a hit, stun, or pallet break, increasing the killer’s movement speed in tiers (120% at 15s, 125% at 25s, 130% at 35s). To counter it, force the killer to break a pallet or stun them, which resets their speed boost.
Should I loop near generators or hooks? No, you should avoid looping near generators, especially those being worked on by teammates, as it can disrupt their progress. Also, avoid looping near hooks, as it can lead to immediate re-hooking if caught and makes it harder for hooked teammates to be rescued.