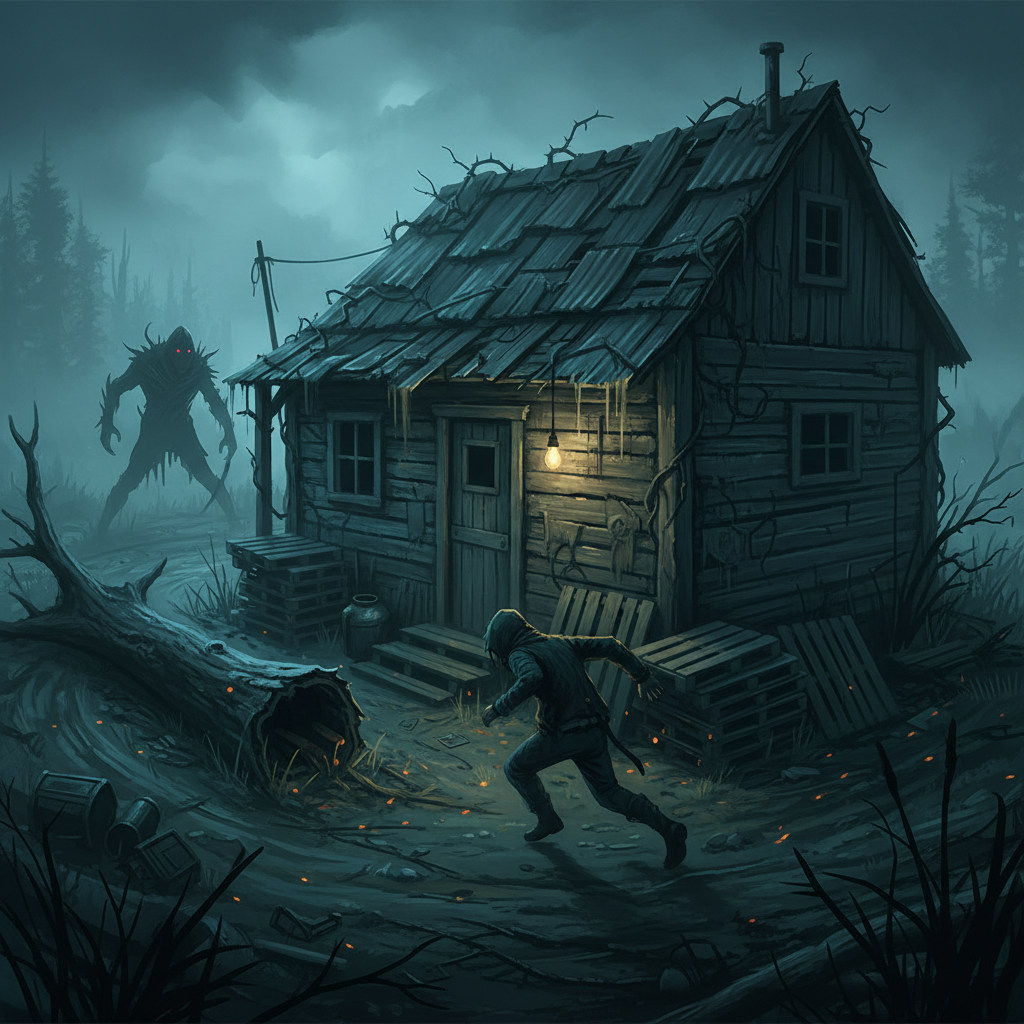
To effectively loop the Killer Shack as a survivor in Dead by Daylight, prioritize sticking as close to the walls as possible to maintain optimal pathing, and strategically manage the “God pallet” by only using it after at least two loops or when you are about to be downed.
Shack Looping Fundamentals
The Killer Shack is widely considered one of the safest looping structures on any map where it appears. The core principle for looping the shack efficiently involves “hugging” the structure. This means holding the ‘W’ key and staying as close as you can to the walls, positioning your camera to face the wall. This tight pathing minimizes the distance you travel, making it harder for the killer to catch up. Wide turns are inefficient and can cost you valuable seconds in a chase. By consistently maintaining the optimal path along the shack’s wall, you can save 1-2 seconds per loop, significantly extending your chase time.
Observing the killer’s Red Stain is a crucial skill during a shack loop. The Red Stain indicates the direction the killer is facing, and focusing on it can make you almost uncatchable. This visual cue allows you to anticipate the killer’s movements and adjust your pathing accordingly, especially when attempting mind games or deciding when to vault a window.
Mastering the ‘God Pallet’
The pallet found within the Killer Shack is often referred to as the “God pallet” due to its strength and safety. It is a valuable resource that should not be wasted prematurely. The primary goal is to extend the chase as long as possible without dropping this pallet.
| Resource | Description | Usage Strategy |
|---|---|---|
| God Pallet | Safest pallet on the map | Only use after looping at least 2 times or when about to be downed |
The “God pallet” should be conserved for critical moments. A general guideline is to only use it after you have successfully looped the killer around the shack at least two times. This ensures you’ve gained maximum value from the structure before committing the pallet. The other crucial time to drop it is when you are on the verge of going down, as it can provide a necessary stun and create distance to prolong the chase or escape. Stunning a killer with a pallet will stop them from moving for 2 seconds, which is a significant advantage. The killer can, however, grab you while you are vaulting a pallet.
Advanced Shack Techniques
Beyond the basic loop, several advanced techniques can enhance your survival chances at the Killer Shack. One such technique involves using the window. If the shack window is blocked by The Entity after multiple fast vaults (three times in the same chase by the same survivor), it’s important to continue the chase and buy time, especially if the killer is caught off guard. Even a blocked window can sometimes be used to trick a killer into thinking you might vault, creating a brief moment of hesitation.
Mind games are also essential. If a killer vaults a window, you can use a blind (flashlight or flashbang) to briefly disorient them, making it harder for them to track you, unless you are injured and the killer is using headphones. Taunting actions or head nods can also be used to raise the killer’s “blood pressure,” potentially provoking aggressive plays and causing them to make mistakes. Wearing a default or inconspicuous skin might also make the killer perceive you as a beginner, leading them to underestimate you and potentially make errors.
Perks for Shack Loops
While not strictly necessary, certain perks can significantly aid in looping the Killer Shack and extending chases. These perks provide benefits that either help you maintain distance, recover, or gather information.
| Perk | Effect | Looping Benefit |
|---|---|---|
| Dramaturgy | Ultra-rare perk against all killers | Greatly aids survival during loops, makes you almost uncatchable when focusing on red stain |
| Resilience | 6% boost to all actions while injured | Speeds up vaults and other actions during a chase |
| Dead Hard | Exhaustion on ground, or extra hit | Provides an extra hit or distance if you make a mistake |
| Windows of Opportunity | Shows nearby pallets and windows | Helps plan your next move and identify safe vault locations |
| Quick & Quiet | Suppresses noise notifications from rushed actions | Allows for silent fast vaults, preventing killer alerts |
Dramaturgy, an ultra-rare survivor perk, is noted for its effectiveness against all killers and can greatly aid survival during loops. Focusing on the killer’s red stain while using Dramaturgy can make you nearly uncatchable. Resilience can provide a 6% boost to actions while injured, which includes vaulting, making you slightly faster during a chase. Dead Hard can offer an extra hit or create distance if you misplay, though it causes exhaustion. Windows of Opportunity is invaluable for seeing available pallets and windows, allowing you to plan your escape route or next loop. Quick & Quiet can suppress the noise notification from rushed vaults, preventing the killer from being alerted to your position when you perform a fast vault.
General Looping Advice
Beyond the specific mechanics of the Killer Shack, general looping principles apply. “Greeding pallets” means staying at a loop as long as possible without dropping the pallet, forcing the killer to commit to the chase and giving your teammates more time on generators. You should only drop the pallet once the killer is getting faster, potentially due to Bloodlust, or when you are about to be hit.
It’s also crucial to pay attention to your surroundings. While looping, take a moment to look around for your next potential loop. Many survivors make the mistake of running towards a dead zone in a panic after dropping a pallet. Knowing when to leave a loop is as important as knowing how to loop it. If you’ve spent significant time at a high wall loop, holding ‘W’ away from it can sometimes trick the killer into thinking you’re still there, causing them to mind-game themselves. Practice is key; the more you get chased, the better you will become at looping and utilizing your perks effectively.
FAQ
What is the “God pallet” at the Killer Shack? The “God pallet” is the pallet located inside the Killer Shack, known for being one of the safest and strongest pallets on any map.
When should I use the “God pallet” at the Killer Shack? You should only use the “God pallet” after looping the killer at least two times, or when you are about to be downed.
How can I make my shack loops more effective? Stick as close to the walls as possible, observe the killer’s Red Stain, and manage the “God pallet” strategically.
What is the benefit of “hugging” the walls while looping? Hugging the walls minimizes the distance you travel during a loop, making it harder for the killer to catch you and saving 1-2 seconds per loop.
Can the Killer Shack window become blocked? Yes, if a chased survivor rush vaults the same window thrice during the same chase, The Entity will temporarily block it for that survivor for 30 seconds. Other survivors and the killer can still vault it.