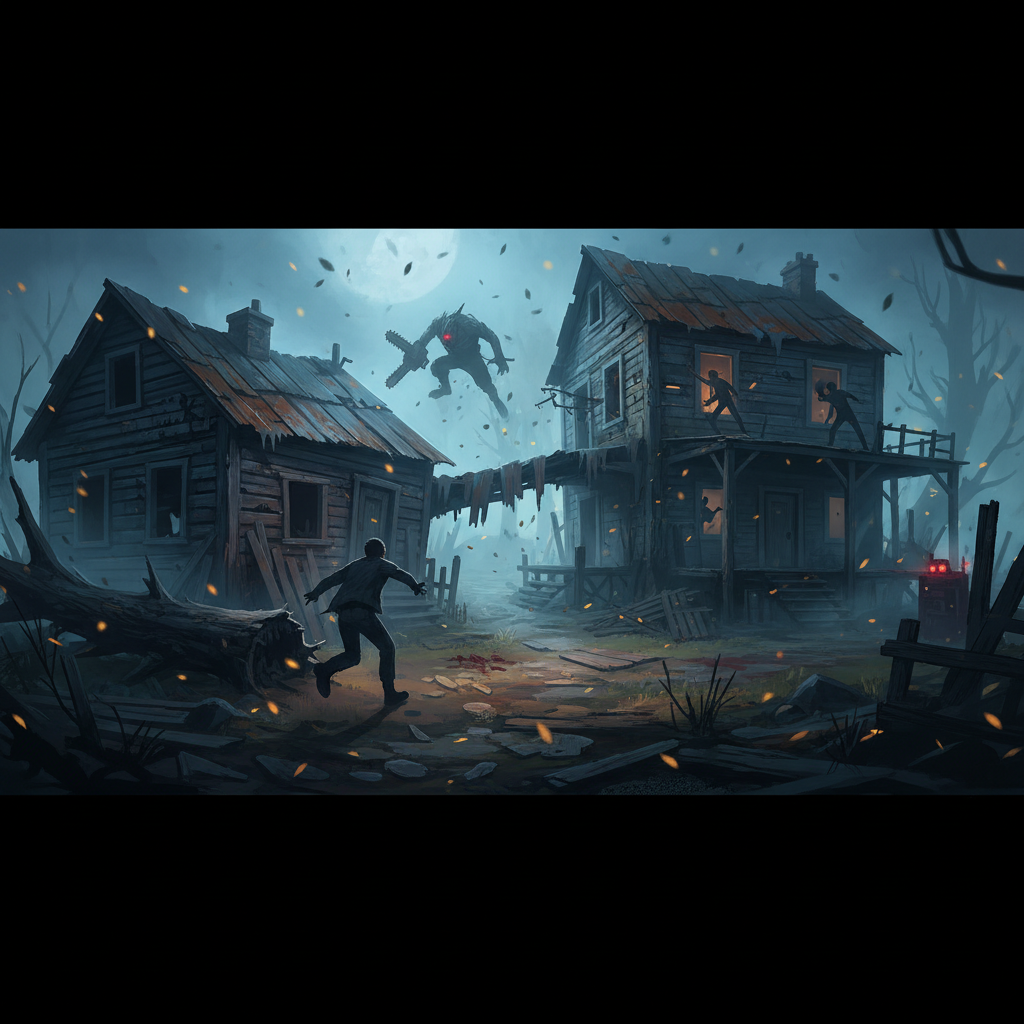
To effectively loop the Shack and Main Building as a survivor, always maintain camera focus on the killer while running the tightest path possible around walls and using windows. Combine this with pre-planned routes to other loops, avoiding dead zones, and utilizing mind games to waste the killer’s time and extend chases.
Mastering Camera Control and Map Knowledge
Effective looping, particularly around strong structures like the Shack and Main Building, begins with fundamental skills: camera control and comprehensive map knowledge. Your camera should constantly be focused on both the killer and the loop itself. This allows you to track the killer’s position, anticipate their movements, and react to mind games they might attempt. Many survivors make the mistake of running forward without looking back, only realizing the killer’s proximity too late. By keeping the killer in view, you can predict their next move and safely choose your next path or loop.
Beyond camera control, memorizing the map layout is crucial. This includes the locations of pallets, windows, and strong loops like the Shack and Main Building. While repairing generators, take a few seconds to survey your surroundings. Ask yourself where the closest pallets are, if there are safe pallets nearby, which windows can be used to chain loops, and where dead zones (areas without pallets or windows) are located. Good survivors plan ahead, knowing their next move before a chase even begins, preventing panic and avoiding easily avoidable downs in dead zones.
Shack and Main Building Looping Basics
The Shack and Main Building are considered strong loops due to their inherent structure, often featuring multiple windows and pallets. When looping the Shack, specifically, sticking as close to the wall as possible is paramount. This optimal pathing can save 1-2 seconds per loop, whereas wide turns are inefficient and quickly lead to being caught. The goal in any chase, especially around these structures, is to waste the killer’s time for as long as possible, allowing your teammates to complete generators.
Always run towards a loop as soon as the killer spots you; never run in a straight line. The Shack and Main Building are prime examples of “loops” that provide pallets and windows to help you extend the chase. Do not panic; instead, choose the closest safe loop and begin looping immediately. Your primary objective is to survive the chase, forcing the killer to dedicate their time to you rather than generators or other survivors.
Chaining Loops and Strategic Rotation
Chaining loops is the advanced technique of connecting one loop to another to prolong survival. Many new players make the mistake of staying at a single loop until they run out of resources, leading to a quick down. Smart survivors plan their next loop before the current one is exhausted. Instead of being caught at one pallet or window, they utilize multiple loops to maximize the time wasted for the killer.
When rotating between loops, always look ahead to your next destination. While keeping your camera on the killer, your mind should be focused on the next available loop. Avoid wasting “god pallets” – save the strongest pallets for when they are truly needed. Instead, prioritize chaining smaller, weaker loops first. Use windows and mind games to create distance before rotating to a new area. Crucially, always know your escape path and avoid running into dead zones. A strategic rotation involves moving from weak loops to medium loops, then to strong loops, saving the Main Building or Shack as a last resort when possible, or using them as anchor points in your chain.
| Loop Type | Characteristics | Strategic Use |
|---|---|---|
| Small Loops | Limited resources, easily shut down | Chain quickly, don’t commit |
| Medium Loops | Moderate resources, some safety | Use to gain distance, transition |
| Strong Loops | Abundant resources (Shack/Main Building) | Extend chase significantly, save for critical moments |
Small loops, especially against strong killers like the Huntress, are not safe on their own and must be chained with other loops. The Main Building and Shack offer more sustained looping opportunities, but even these can be exhausted. The key is never to stay in one place too long and always have an exit strategy to another loop.
Leveraging Perks and Mind Games
Certain perks can significantly enhance your looping capabilities, particularly around complex structures like the Shack and Main Building. Perks like Lithe, Quick & Quiet, and Dance With Me can aid in escaping chases or creating distance after vaulting windows. Lithe, for instance, provides a 150% sprint burst for 3 seconds after a rushed vault, which can be invaluable for gaining distance or reaching the next loop. Quick & Quiet suppresses noise notifications from rushed vaults or locker entries, making it harder for the killer to pinpoint your exact location. Dance With Me hides scratch marks for 3 seconds after a rushed vault or quick locker escape, further obscuring your trail. Distortion can prevent the killer from reading your aura, which is useful for avoiding detection and planning your next move.
Beyond perks, mind games are a critical component of effective looping. Carefully observing the killer’s Red Stain is one of the most crucial skills. Focusing on the red stain during a shack loop can make you almost uncatchable. You can induce missed attacks by anticipating the killer’s movements and making them swing at empty air. Using blinds when a killer vaults a window can briefly pause them. Even wearing a default or inconspicuous skin can sometimes make the killer perceive you as a beginner, potentially leading them to underestimate you and make mistakes. The goal is to unsettle the killer, provoke aggressive plays, and force errors, buying precious time for your team.
FAQ
What is the most important skill for looping the Shack effectively? The most important skill is carefully observing the killer’s Red Stain and sticking as close to the wall as possible when looping the Shack. This optimal pathing saves 1-2 seconds.
Should I stay at the Shack or Main Building for the entire chase? No, you should never stay in one loop for too long. While the Shack and Main Building are strong loops, you should always be planning to chain to another loop to extend the chase and prevent the killer from easily downing you.
How do perks help with looping the Shack and Main Building? Perks like Lithe, Quick & Quiet, and Dance With Me help by providing speed boosts, suppressing noise, or hiding scratch marks after vaults, which are common actions when looping these structures. This allows you to gain distance or break line of sight more effectively.
What are dead zones and why should I avoid them? Dead zones are areas on the map with no pallets or windows. You should avoid them because they offer no resources to extend a chase, making it very easy for the killer to catch you quickly.
What is the purpose of mind games in looping? Mind games are used to trick the killer, anticipate their attacks, and force them to make mistakes. This buys you more time in a chase, allowing your teammates to progress on generators.