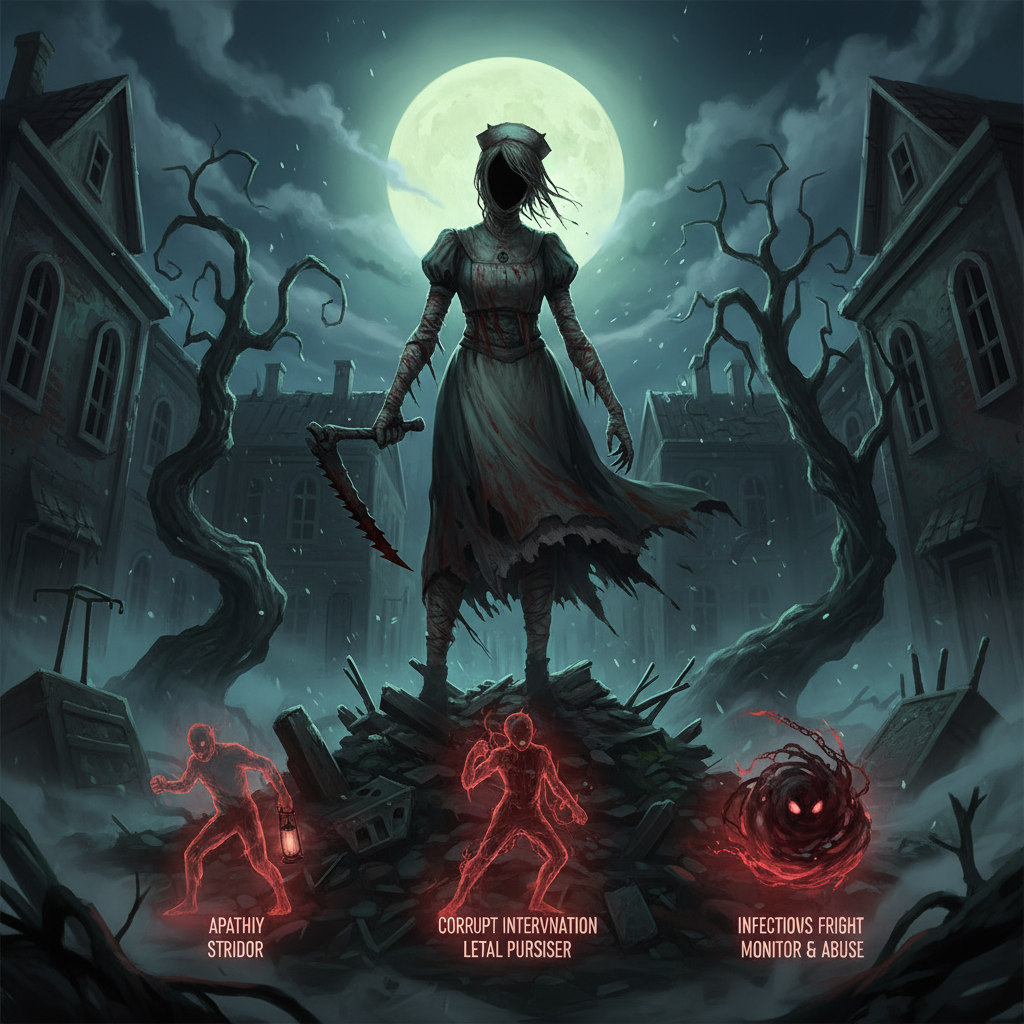
The Nurse Playstyle Overview
The Nurse, Sally Smithson, is a high-skill killer in Dead by Daylight renowned for her ability to bypass map obstacles with her power, Spencer’s Last Breath. This power allows her to blink through walls and terrain, instantly closing distances to strike Survivors. Skilled Nurse players chain blinks to shut down loops and turn any part of the map into a dangerous hunting ground. Her unique mobility means she doesn’t inherently need more chase power; instead, effective builds focus on providing cleaner decision support, ensuring each blink chain contributes to objective tempo, hook conversions, and punishing greedy Survivor plays.
Recommended Nurse Builds
Several effective builds exist for The Nurse, each tailored to different playstyles and Survivor strategies. These builds are tuned for information gathering, converting hooks, and counteracting common Survivor tactics.
1. Radar Nurse: This build excels against stealthy teams that frequently touch generators and disappear.
- Lethal Pursuer: Reveals all Survivor auras at the start of the trial for nine seconds and extends the duration of other aura-reading abilities by two seconds.
- Nowhere to Hide: Kicking a generator reveals the aura of all Survivors within 24 meters for five seconds.
- Barbecue & Chilli: Provides aura-reading after hooking a Survivor.
- Scourge Hook: Pain Resonance: Explodes the generator with the most progress, causing it to lose 25% progression, when a Survivor is hooked on a Scourge Hook.
2. Hook-Tax Nurse (Safest All-Around Option): Considered the safest all-around build, this is strong in most map and lobby types, focusing on stable macro games where generator regression is key.
- Scourge Hook: Pain Resonance: Explodes the generator with the most progress, causing it to lose 25% progression, when a Survivor is hooked on a Scourge Hook.
- Pop Goes the Weasel: After hooking a Survivor, kicking a generator within the next 45 seconds removes 30% of its current progression.
- Deadlock: Blocks the generator with the most progress for a period after a generator is completed.
- Nowhere to Hide: Kicking a generator reveals the aura of all Survivors within 24 meters for five seconds.
3. Unhook Punisher: Designed to counter coordinated rescue teams that chain safe unhooks.
- Scourge Hook: Floods of Rage: Provides immediate post-hook target certainty by revealing auras.
- Dead Man’s Switch: After hooking a Survivor, any Survivor who stops repairing a generator before it is fully repaired causes it to be blocked.
- Grim Embrace: Blocks all generators for a duration after hooking a unique Survivor.
- Scourge Hook: Pain Resonance: Explodes the generator with the most progress, causing it to lose 25% progression, when a Survivor is hooked on a Scourge Hook.
4. Slug and Scream: Effective against hover squads and Survivors attempting bodyblocks near hooks.
- Infectious Fright: Any Survivor put into the dying state causes other Survivors within a certain range to scream and reveal their location.
- Starstruck: While carrying a Survivor, any Survivor within your terror radius becomes Exposed.
- Agitation: Increases your movement speed while carrying a Survivor.
- Lethal Pursuer: Reveals all Survivor auras at the start of the trial for nine seconds and extends the duration of other aura-reading abilities by two seconds.
5. Anti-Heal Pressure: Targets lobbies that frequently heal and reset pressure.
- A Nurse’s Calling: Reveals the auras of Survivors healing within a 28-meter range.
- Thanatophobia: For each injured Survivor, repair, sabotage, and Totem-cleansing speeds are slowed. With all four Survivors injured, there is an additional 12% speed penalty.
- Nowhere to Hide: Kicking a generator reveals the aura of all Survivors within 24 meters for five seconds.
- No Way Out: After hooking each unique Survivor, gains tokens. When the last generator is completed, blocks the exit gate switches for a duration.
6. Best Non-Teachable Build (Beginner-Friendly): This build focuses on passive game slowdown and tracking for newer players learning Nurse’s mechanics.
- A Nurse’s Calling (The Nurse): Reveals the auras of Survivors healing within a 28-meter range.
- Thanatophobia (The Nurse): For each injured Survivor, repair, sabotage, and Totem-cleansing speeds are slowed. With all four Survivors injured, there is an additional 12% speed penalty.
- Bitter Murmur (General Perk): Each time a generator is completed, the auras of Survivors within 16 meters of that generator are revealed for five seconds. Once the last generator is complete, all Survivors’ auras are revealed for 10 seconds.
- Spies from the Shadows (General Perk): Cawing crows within a 36-meter radius provide a visual cue to the Killer.
The Nurse Add-Ons
Add-ons can significantly enhance The Nurse’s abilities and provide tactical advantages.
- Plaid Flannel (Common): Useful for beginners, this add-on shows the target location of a Blink, aiding in accurate positioning.
- Heavy Panting (Rare): A Last Breath add-on that increases The Nurse’s lunge attack by 30% after performing more than one Blink, allowing hits on Survivors who would otherwise be out of reach.
- Fragile Wheeze (Add-on): Inflicts the Mangled status ailment for 70 seconds on Survivors hit by Blink attacks, slowing healing speeds by 25%.
- Jenner’s Last Breath (Add-on): Allows The Nurse to warp back to her original position after all blinks have been used, useful for patrolling and defending objectives.
- Torn Bookmark (Ultra Rare): Provides an extra Blink at the cost of a 30% power recharge time, offering more opportunities to land hits.
Nurse Pilot Routine
To play The Nurse effectively, a specific routine can optimize performance:
- Always pre-call your first and second blink before fully committing. Hesitation or half-plans often lead to lost time.
- Utilize aura information to cut off Survivor pathing, rather than attempting low-probability “hero” reads.
- If a slug sequence fails, immediately reset to focusing on hook tempo instead of forcing additional risky blink gambles.
- Avoid long, drawn-out chases when you already have objectives that can be defended.
FAQ
What is the best all-around Nurse build right now? Build 2, the Hook-Tax Nurse, is the safest all-around option for consistent value across most map and lobby types.
Should I force slug perks every game? No, slug-focused setups are situational tools and should not be used as a default setting for every match.
Is The Nurse a good killer for beginners? The Nurse’s mechanics can be challenging to master for new players due to her unique movement and blink abilities.
Do I need to do anything to unlock The Nurse? The Nurse is one of the Killers available in Dead by Daylight.
What are some smart perk swaps for Nurse builds?
- Barbecue & Chilli can be swapped for Scourge Hook: Floods of Rage for more immediate post-hook target certainty.
- Deadlock can be swapped for Grim Embrace if you have a high hook cadence and desire harder generator lock windows.
- Starstruck can be swapped for Deadlock when slug scenarios are inconsistent and you need guaranteed macro slowdown.