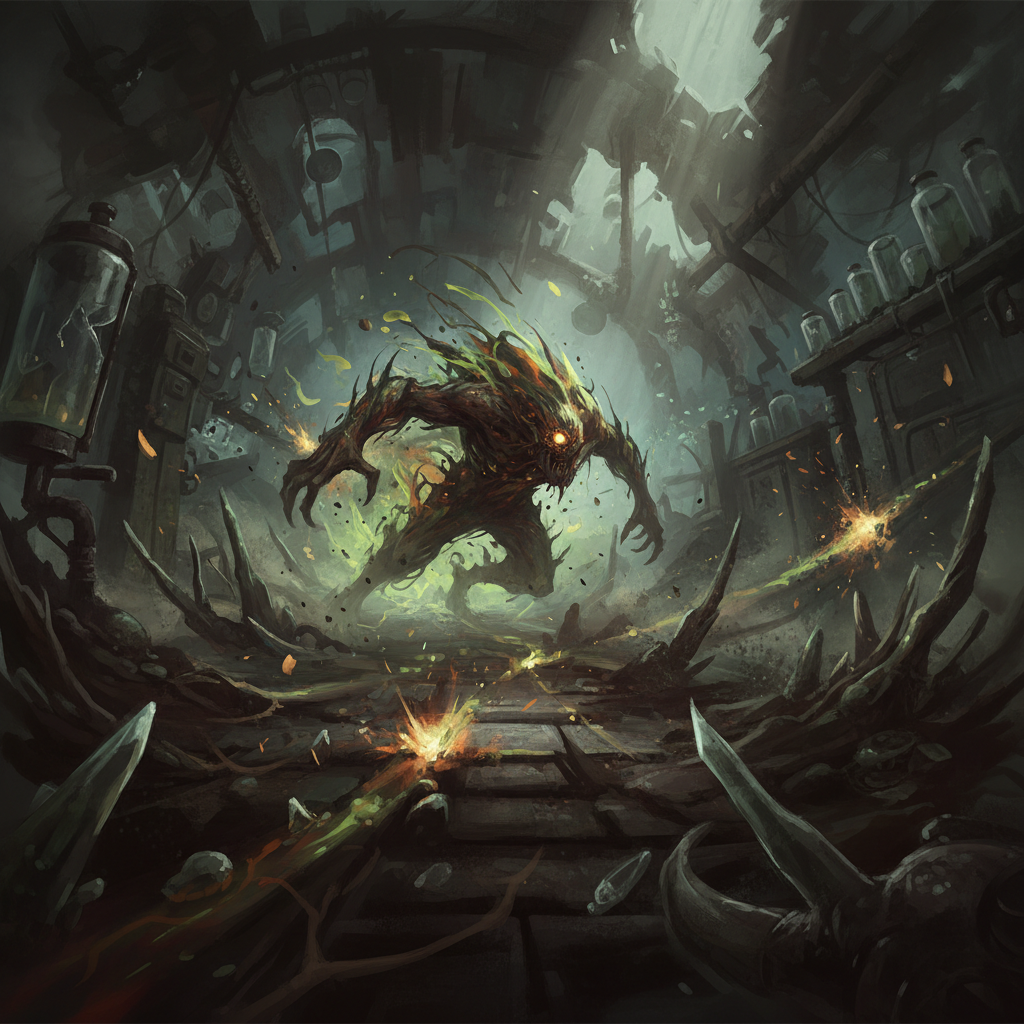
Blight Rush Fundamentals
To effectively utilize Blight’s Rush ability in Dead by Daylight, begin by holding M2 for approximately 1 second to charge a Rush, then release to propel forward at 9.2 m/s (230% speed). You start with 5 Rush tokens, and bumping into solid objects like walls or trees allows you to chain subsequent Rushes. After performing at least two Rushes, you can execute a Lethal Rush by pressing M1 during a Rush, which injures healthy survivors or downs injured ones. Following a Lethal Rush or exhausting all 5 tokens, Blight enters a 2.5-second fatigue state where he moves slowly and cannot attack, during which tokens begin to recharge.
Blight’s power, Blighted Corruption, is central to his high mobility and map pressure. Each Rush consumes one token, and tokens recharge after about 10 seconds of not rushing. You can chain up to five Rushes consecutively, with each bump resetting your Rush direction and allowing for another Rush. This core mechanic enables Blight to traverse maps rapidly and close distances with survivors. Understanding the sequence of charging, rushing, bumping, and executing a Lethal Rush is the foundation for mastering this killer.
Mastering Bump Logic
Mastering Blight’s Rush ability critically depends on understanding “bump logic”—which objects allow you to ricochet and chain Rushes, and which cause you to slide. When you bump into a solid object, Blight stops, and you gain the opportunity to immediately initiate another Rush, consuming another token and allowing you to change direction. Conversely, “slide objects” cause Blight to slide along them without stopping or allowing for a subsequent Rush, effectively wasting a token and disrupting your chain.
It is essential to learn the specific collision properties of various map elements. This knowledge is gained primarily through extensive gameplay and direct experimentation on each map.
| Object Type | Behavior | Examples |
|---|---|---|
| Bumpable | Stops Rush, allows new Rush, resets direction | Walls, trees, rocks, pallets (dropped or standing), breakable walls, killer shack walls, main building walls, jungle gym walls, hay bales, crates |
| Slide | Slides along, does not stop Rush, no new Rush | Some short loops (LT-walls), certain rocks (map-dependent), some railings, specific car models, certain map geometry |
Failing to distinguish between bumpable and slide objects can severely hinder your Blight gameplay. If you attempt to chain Rushes off a slide object, you will pass by it, lose momentum, and potentially waste tokens without achieving your desired trajectory. Therefore, dedicated map knowledge is paramount for consistent and effective Blight play.
Advanced Rush Techniques
Beyond the basic Rush and Lethal Rush, several advanced techniques elevate Blight’s chase potential and allow for more precise survivor tracking and hits. These techniques require significant practice to execute reliably.
| Technique | Description | How to Execute | Application |
|---|---|---|---|
| Basic Rush Attack | Chaining a bump to land a Lethal Rush on a moving survivor. | 1. Rush towards survivor. 2. Bump off an object. 3. Rush towards survivor again. 4. Press M1 for Lethal Rush. | Open areas, short loops, chasing survivors in a straight line. |
| Flick Attacks | Rapidly turning the camera during a Lethal Rush to hit juking survivors. | Perform Lethal Rush, then quickly flick the camera left or right as you attack. | Countering survivors who attempt to dodge or juke your straight-line Rush. |
| J-Flick (Nerfed) | An extreme, near-180 degree camera turn during Lethal Rush. | Flick camera as fast as possible during Lethal Rush. (Turn rate capped, ~90-120 degrees possible). | Highly unpredictable hits, though less extreme than pre-nerf. |
| Zoning with Rushes | Using Rush to force survivors into unfavorable positions without directly attacking. | Rush towards a survivor at a loop without pressing M1 to attack. | Controlling survivor movement, cutting off escape routes, breaking loops. |
Flick attacks, including the J-flick, are crucial for adapting to survivor movement. Survivors often expect a straight-line attack from Blight, making a sudden camera flick an effective way to land hits they didn’t anticipate. While the J-flick was significantly nerfed by capping the turn rate, it can still achieve substantial turns (approximately 90-120 degrees), making it a viable, albeit more challenging, technique. Zoning with Rushes is a non-committal way to apply pressure, forcing survivors to abandon safe areas or commit to a less advantageous path without expending a Lethal Rush or entering fatigue. Practice in custom matches is highly recommended to develop muscle memory for these precise maneuvers.
Strategic Rush Application
The Blight’s Rush ability is not just for direct chases; it’s a powerful tool for map pressure, generator defense, and initiating engagements. His exceptional mobility allows him to traverse the map faster than most killers, making him highly effective at patrolling generators and quickly responding to survivor activities.
Map Pressure and Generator Defense: Blight excels at maintaining map pressure due to his rapid movement. With a maximum Rush cooldown of 10 seconds (without add-ons), he can quickly move between distant generators, making it difficult for survivors to complete objectives. This capability makes him particularly strong in scenarios where generators are spread out or during the endgame when only a few generators remain. He can easily disrupt survivor progress and initiate chases across the map.
Initiating Chase and Loop Management: Blight’s Rush is ideal for initiating chases, often allowing him to find survivors within the first 20 seconds of a match. In chase, the most optimal time to activate Rush is often after breaking a pallet, when a survivor is transitioning between safe areas. While Rushes can be challenging to use effectively at all loops, especially circular ones or those with many slide objects, a skilled Blight can leverage map knowledge and technical skill to apply his power even in seemingly disadvantageous situations. His power allows him to catch survivors who are caught out of position or attempting to move to a new loop.
Weaknesses and Counterplay: Despite his strengths, Blight does have weaknesses. Circular loops, such as those with two large rocks and a pallet, can be particularly difficult for him, often reducing him to an M1 killer unless the survivor makes a significant mistake or the map offers favorable bump points. Additionally, survivors running towards Blight at a perfect 45-degree angle can make his Lethal Rushes difficult to land, similar to how spinning can counter a Nurse. Survivors can also use map geometry, even small rocks, to their advantage to break line of sight or force Blight into less optimal Rush paths. Recognizing these weaknesses and adapting your Rush strategy accordingly is key to consistent performance.
FAQ
How many Rush tokens does Blight have? Blight has 5 Rush tokens by default.
How long does it take for Blight’s Rush tokens to recharge? Rush tokens recharge after approximately 10 seconds of not rushing.
What is a Lethal Rush? A Lethal Rush is an attack Blight can perform during a Rush after he has completed at least two Rushes, injuring healthy survivors or downing injured ones.
What is Blight’s fatigue duration? After using all Rush tokens or performing a Lethal Rush, Blight enters a fatigue state that lasts approximately 2.5 seconds, during which he moves slowly and cannot attack.
Can Blight destroy pallets with his Rush? Yes, as of an update shortly after his launch, Blight can destroy pallets and breakable walls with a Lethal Rush.