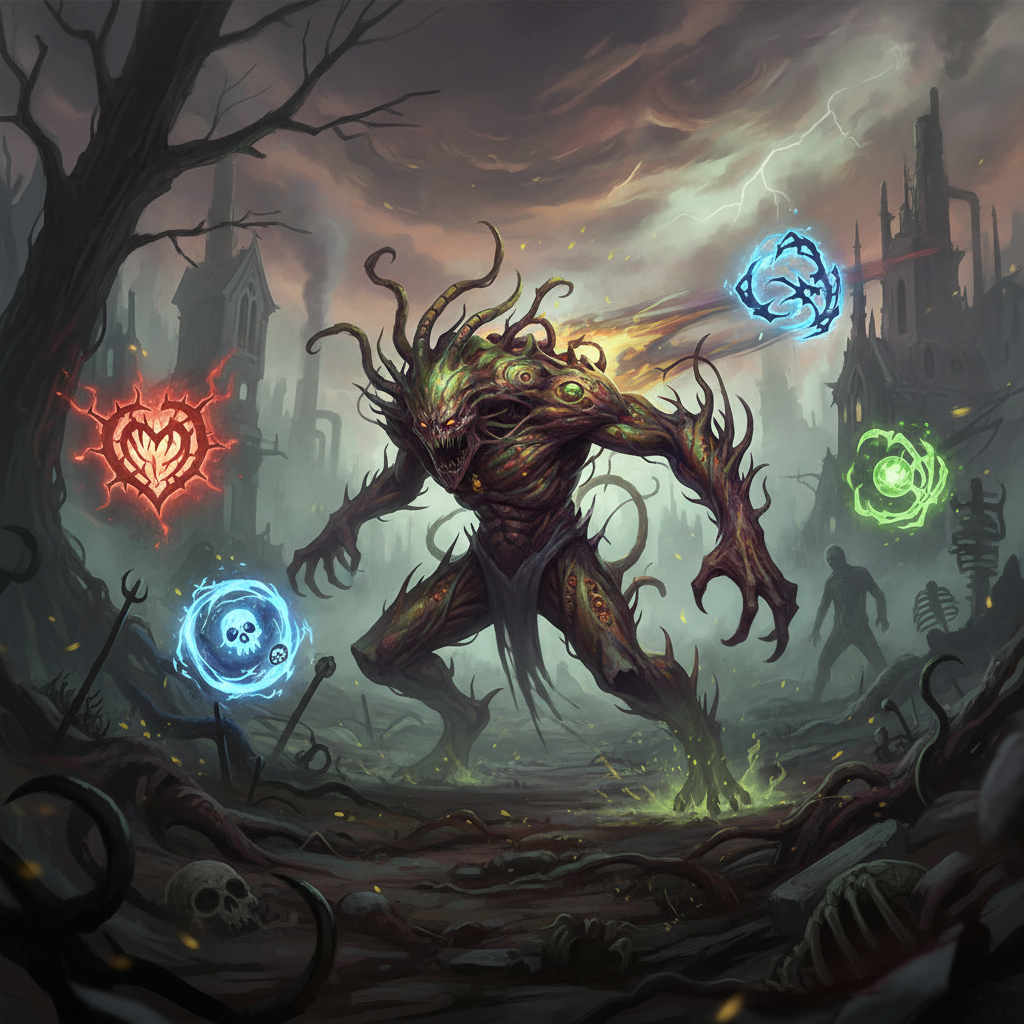
Introduction to The Blight
The Blight, an experimental scientist, is a highly mobile Killer in Dead by Daylight, renowned for his speed and ability to cover immense ground with his Rush power. Experienced players can leverage his unique mechanics to achieve quick downs and simultaneously hinder generator progress. His playstyle revolves around overwhelming Survivors with relentless map pressure, precision, and aggressive chases by chaining Rushes together to cut off escape routes and punish mispositioning.
The Blight is capable of traversing most realms with ease, making him a master of map control. While skilled Blight players may require fewer perks, certain combinations can significantly enhance his fearsome presence in the Fog. The game’s meta, as of October 10th, 2023, has shifted away from generator-kicking perks, now emphasizing slowing generator progress through other means, often tied to hooking Survivors. This guide will detail specific builds tailored to maximize The Blight’s potential, catering to both new players and those with access to a wider range of perks.
Best Non-Teachable Blight Build
For newcomers to Dead by Daylight or players without access to perks from other Killers, The Blight offers a strong foundation, particularly for those interested in Hex Totem builds. This non-teachable build utilizes two of The Blight’s own Hex perks to control the map and slow down cleansing, complemented by general perks that provide additional generator regression and late-game power.
| Perk | Type | Effect |
|---|---|---|
| Hex: Blood Favor | The Blight | Injuring a Survivor blocks all pallets within 32 meters for 15 seconds. |
| Hex: Undying | The Blight | When a Hex Totem is cleansed, its effect transfers to another Dull Totem once per trial. Reveals auras of Survivors within 4 meters of a Dull Totem. |
| Jolt | General | Downing a Survivor causes all generators within 32 meters to lose 8% progress. |
| Hex: No One Escapes Death | General | After the final generator is completed, all Survivors suffer from the Exposed status ailment, and the user gains 4% Haste until the Hex Totem is cleansed. |
This build is particularly effective for controlling pallet usage and applying passive generator regression. Hex: Blood Favor creates temporary safe zones for The Blight by blocking pallets after a hit, forcing Survivors to relocate or take risks. Hex: Undying provides a layer of protection for your other Hex perks, specifically Hex: Blood Favor and Hex: No One Escapes Death, by giving them a second chance if cleansed. The aura reading from Hex: Undying also provides crucial information about Survivors lurking near totems. Jolt offers consistent, area-of-effect generator regression simply by downing Survivors, which synergizes well with The Blight’s aggressive playstyle. Finally, Hex: No One Escapes Death acts as a powerful endgame safety net, allowing for quick downs and potentially turning the tide if generators are completed too quickly. This setup allows new players to experience the power of Hex perks and learn map control without needing external Killer unlocks.
Best Blight Build for Map Control and Regression
This advanced build focuses on The Blight’s inherent strength in map traversal and combines it with aggressive regression and aura-reading perks. This combination allows The Blight to maintain constant pressure across the map, quickly locate Survivors, and severely punish generator progress. This build was updated to reflect changes as of October 10th, 2023, moving away from notorious generator-kicking perks towards strategies that slow progress with each hooked Survivor.
| Perk | Killer | Effect |
|---|---|---|
| Lethal Pursuer | The Nemesis | At trial start, all Survivor auras are revealed for 9 seconds. Increases duration of other aura-reading abilities by 2 seconds. |
| Barbecue & Chili | The Cannibal | After hooking a Survivor, reveals auras of all other Survivors further than 40 meters from the hook for 5 seconds. |
| Scourge Hook: Pain Resonance | The Artist | Killer starts with 4 tokens. Hook a different Survivor on a white Scourge Hook to lose 1 token and explode the generator with most progress, losing 25% progress. |
| Pop Goes the Weasel | The Clown | After hooking a Survivor, kicking a generator in the next 45 seconds removes 30% of its current progression. |
This build is designed for a Blight player who wants to apply relentless pressure and control the game’s pace. Lethal Pursuer provides an immediate advantage at the start of the trial, allowing The Blight to quickly identify Survivor locations and initiate the first chase. Its secondary effect also enhances the duration of Barbecue & Chili, making it even more potent. Barbecue & Chili is a cornerstone for map control, providing consistent information on Survivor locations after each hook, which The Blight can then quickly capitalize on due to his high mobility.
Scourge Hook: Pain Resonance is a powerful generator regression perk that activates upon hooking a Survivor on a Scourge Hook, instantly damaging the generator with the most progress. This provides significant passive slowdown and forces Survivors off generators. Pop Goes the Weasel complements this by allowing The Blight to actively regress a specific generator for a substantial amount (30% of its current progress) within 45 seconds of a hook. The combination of these perks ensures that every hook contributes to both map control (through aura reading) and generator regression, making it incredibly difficult for Survivors to complete objectives. This build leverages The Blight’s speed to quickly move between hooks and generators, maximizing the value of these powerful perks.
FAQ
What makes The Blight a strong Killer in Dead by Daylight? The Blight is strong due to his high mobility from his Rush power, allowing him to traverse maps quickly, close distances on Survivors, and apply constant pressure, making him effective at both chasing and map control.
Are there any specific Blight add-ons recommended for these builds? The provided sources do not specify add-ons for these particular builds, focusing solely on perk combinations.
How has the Dead by Daylight meta changed for Killers like The Blight? As of October 10th, 2023, the meta has shifted away from generator-kicking perks. New builds, including those for The Blight, now revolve around slowing generator progress with each new hooked Survivor.
Can The Blight be a good Killer for new players? Yes, The Blight is considered a great character for newcomers to unlock, especially those interested in experimenting with Hex Totem builds, as he has strong non-teachable Hex perks. However, mastering his Rush mechanics can take practice.